Mixing the Doughs
Gluten-free yeast breads are easy to mix up in a stand mixer. With hand-held mixers, the mixing process can put a serious strain on the motor, causing it to burn out. You can also mix gluten-free bread doughs by hand, but this is a long and laborious chore, as the yeast dough is sticky and needs to be thoroughly beaten.
The technique for mixing these yeast bread doughs is simple. First, combine part of the flour, the xanthan gum, and the instant yeast in a large mixer bowl and whisk these ingredients together until well blended. Add the heated liquid ingredients and the eggs and beat with the paddle beater until thoroughly mixed. The remaining flour is then added and the dough is beaten again. The finished dough will be soft and sticky. It will not look the same as dough made from flour that contains gluten.
This two-step process of incorporating the flour into the dough serves two important purposes. By starting with only part of the flour in the mixer bowl, the instant yeast is able to absorb more of the warm milk so it starts to activate faster. Gradually adding the remaining flour after the initial beating creates a smoother texture and helps add structure to the dough.
Shaping Yeast Loaves
Gluten-free bread doughs are very sticky, so it is difficult to knead and shape the loaves the same way you would a wheat flour bread loaf. It is easiest to prepare gluten-free bread loaves using the single-rise method. These types of yeast breads are often referred to as batter breads because the mixed dough is not kneaded and has a sticky batterlike texture.
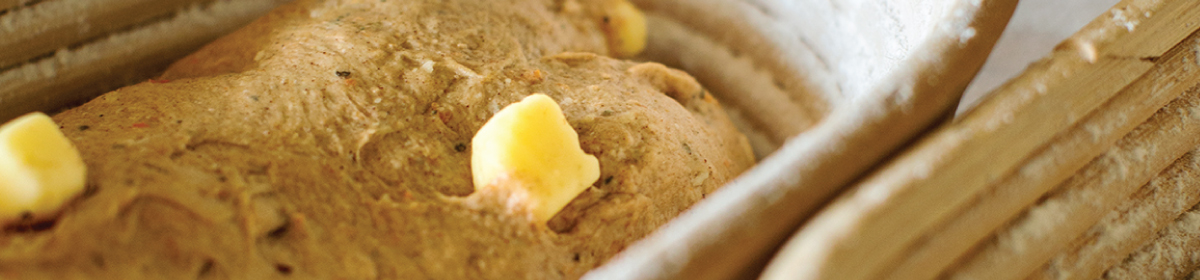
After mixing the dough, spoon it evenly into the greased loaf pan. Use unsalted butter to grease the pan rather than oil because gluten-free bread doughs tend to absorb the oil into the dough, causing the outer edges of the loaf to stay sticky longer and the bread to stick to the pan as it bakes.
Fill the loaf pan about two-thirds fill. Too much dough can cause the loaf to fall. The top of the dough will be lumpy and bumpy. Smooth it out as best you can with the spoon or spatula used to transfer the dough to the pan. Then grease your fingers or the back of a clean spoon with unsalted butter and gently shape the top of the loaf until the surface has a smoother, more even appearance. Homemade gluten-free breads will have a slightly more rustic appearance. Don’t use floured hands to smooth the top of the load- the dough will quickly absorb the flour and start sticking to your hands. Instead of smoothing out the top of the dough, you will end up with a sticky mess.
Proofing Yeast Doughs
Yeast doughs rise, or proof, best at temperatures between 75-100 degrees F. Cooler temperatures will slow down the rising process and take the dough longer to rise, while warmer temperatures wil cause the doughs to rise very fast.
Getting The Best Out Of Your Yeast
- Store yeast in a cool dry place – the refrigerator is ideal.
- The date stamped on the yeast envelope or jar indicates the end of its active life. You can't rely on it after this date.
- To extend the yeast's dated life by several months, freeze it; defrost at room temperature and use immediately.
- For maximum yeast dough rise, a warm place is critical. A gas oven is a good site for letting loaves double in size as the pilot light alone provides enough warmth. I have a Bunn coffee maker that stays warm continuously. Placing my dough beside it is a great warm spot. I place formed loaves on top of it to rise just before baking.
Don't Be Intimidated by Yeast
(Adapted from Southern Living Oct. 2013)
Don't be intimidated by yeast; embrace it. A friendly fungus, yeast is the microscopic magic that leavens bread and gives it its unique texture and flavor. Active Dry yeast is recommended.
- Store - Use yeast packets before the expiration date. To store yeast after it has been opened, refrigerate the granules in an airtight container.
- Activate - Stir active dry yeast into warm water (100-110°). Yeast loves sugar, so add a pinch to speed up activation. If bubbles appear, you're golden. That's the gas that makes bread rise.
- Mix- Mix the bubbly brew with flour to make a shaggy dough. Most recipes call for a pinch of salt, not just for flavor but to slow the activation process, keeping the yeast in check so it doesn't activate too fast.
- Knead- Knead the dough to create gluten, which behaves like bubble gum. It traps tiny gas bubbles produced by the yeast and stretches to give bread its springy texture.
- Rise - Bubbles multiply and grow as the yeast starts fermenting, which gives bread its unique flavor and texture. After this first rise, shape the dough, let it rise briefly again, and bake it.
 334-584-7875